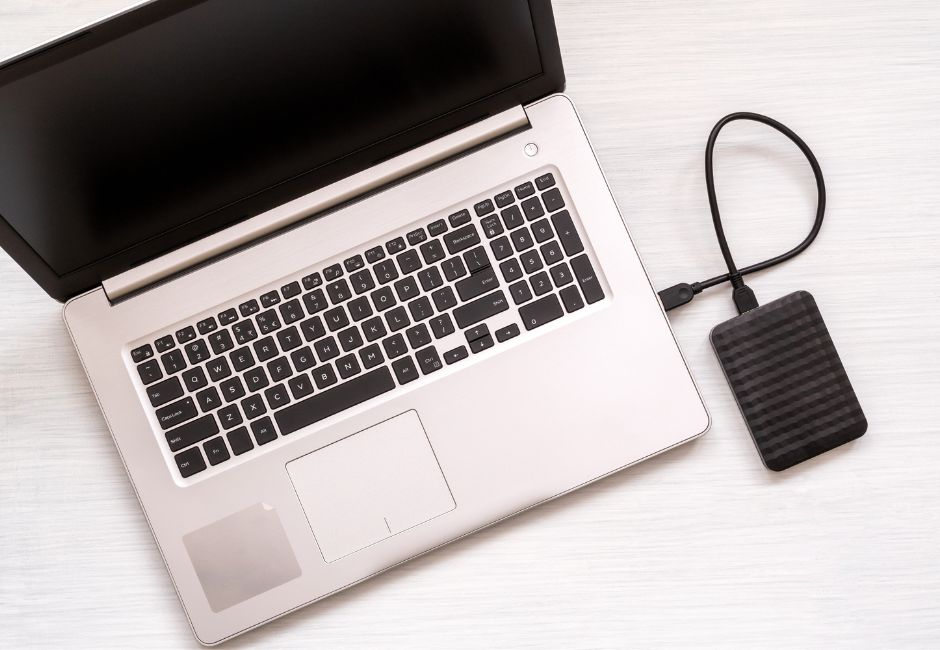
The process for erasing an external hard drive will depend on the type of computer you are working with. To discover the best method for you, find the type of computer you have below.
With a Mac
Erasing an external hard drive using Apple’s Disk Utility is a quick and easy process that can be done in just a few simple steps. This is a helpful tool to use when you want to wipe the data from an external hard drive and start fresh, or when you want to sell or donate the drive and want to ensure that all personal data is removed. Here’s how to do it:
- Connect your external hard drive to your Mac computer using a USB cable.
- Open the Disk Utility application. You can do this by going to the Applications folder in Finder, or by searching for “Disk Utility” using Spotlight Search.
- In the Disk Utility window, look for your external hard drive in the list of available drives on the left side of the window. It should be listed under the “External” section.
- Once you have selected your external hard drive, click on the “Erase” button at the top of the window.
- A new window will pop up, asking you to choose a name and format for the drive. Choose a name for the drive, and then select the “Mac OS Extended (Journaled)” format from the “Format” dropdown menu.
- Click the “Erase” button to wipe the data from your external hard drive. This may take a few minutes, depending on the drive size.
- Once complete, your external hard drive will be wiped clean and ready to use again. You can now use it to store new data, or you can sell or donate it with the confidence that all personal data has been removed.
Remember always to be careful when erasing data from a hard drive, as it cannot be recovered once it has been erased. Make sure to back up any critical data before proceeding with this process.
With a PC
Erasing an external hard drive through a PC is a simple process that can be done in just a few steps. Here is a guide on how to do it:
- Connect the external hard drive to your PC using a USB cable.
- Open the “Start” menu and type “disk management” into the search bar. Click on “Create and format hard disk partitions” to open the Disk Management window.
- Find the external hard drive in the list of available disks. It should be listed as a separate drive, separate from your internal hard drive.
- Right-click on the external hard drive and select “Format.” A window will pop up with formatting options.
- In the “File System” dropdown menu, select the file system you want to use for the external hard drive. The options are NTFS, FAT32, and exFAT. NTFS is the most common option for Windows computers, but FAT32 is also a good choice if you need to use the hard drive with other devices, such as a Mac or a gaming console.
- Give the hard drive a label in the “Volume Label” field. This will help you identify the drive in the future.
- Check the “Quick Format” box to speed up the formatting process. This will only erase the information on the drive and not perform a full format, which can take much longer.
- Click “OK” to begin formatting the external hard drive. A warning message will appear, telling you that all data on the drive will be erased. Click “OK” to confirm.
- Wait for the formatting process to complete. This may take a few minutes to an hour, depending on the size of the hard drive and the selected file system.
- When the formatting is complete, the external hard drive will be erased and ready to use.
That’s it! You’ve successfully erased the external hard drive through your PC. Keep in mind that this process will permanently erase all data on the hard drive, so make sure you have backed up any important files before proceeding.
